
Your inbox already knows your life — the flight confirmations, the Amazon receipts, the utility bills, the dinner invites. The problem is that all of it stays trapped as unread messages you have to remember, act on, and organize yourself. Connecting Gmail to Yuki flips that: instead of you digging through email, Yuki reads the confirmations you already receive and turns them into a calendar, trip itineraries, tracked expenses, subscriptions, and delivery updates — so the mental work of remembering and planning largely disappears. This guide walks through the exact setup, explains what Yuki accesses and why, and shows how to fix the two or three things that occasionally trip people up.
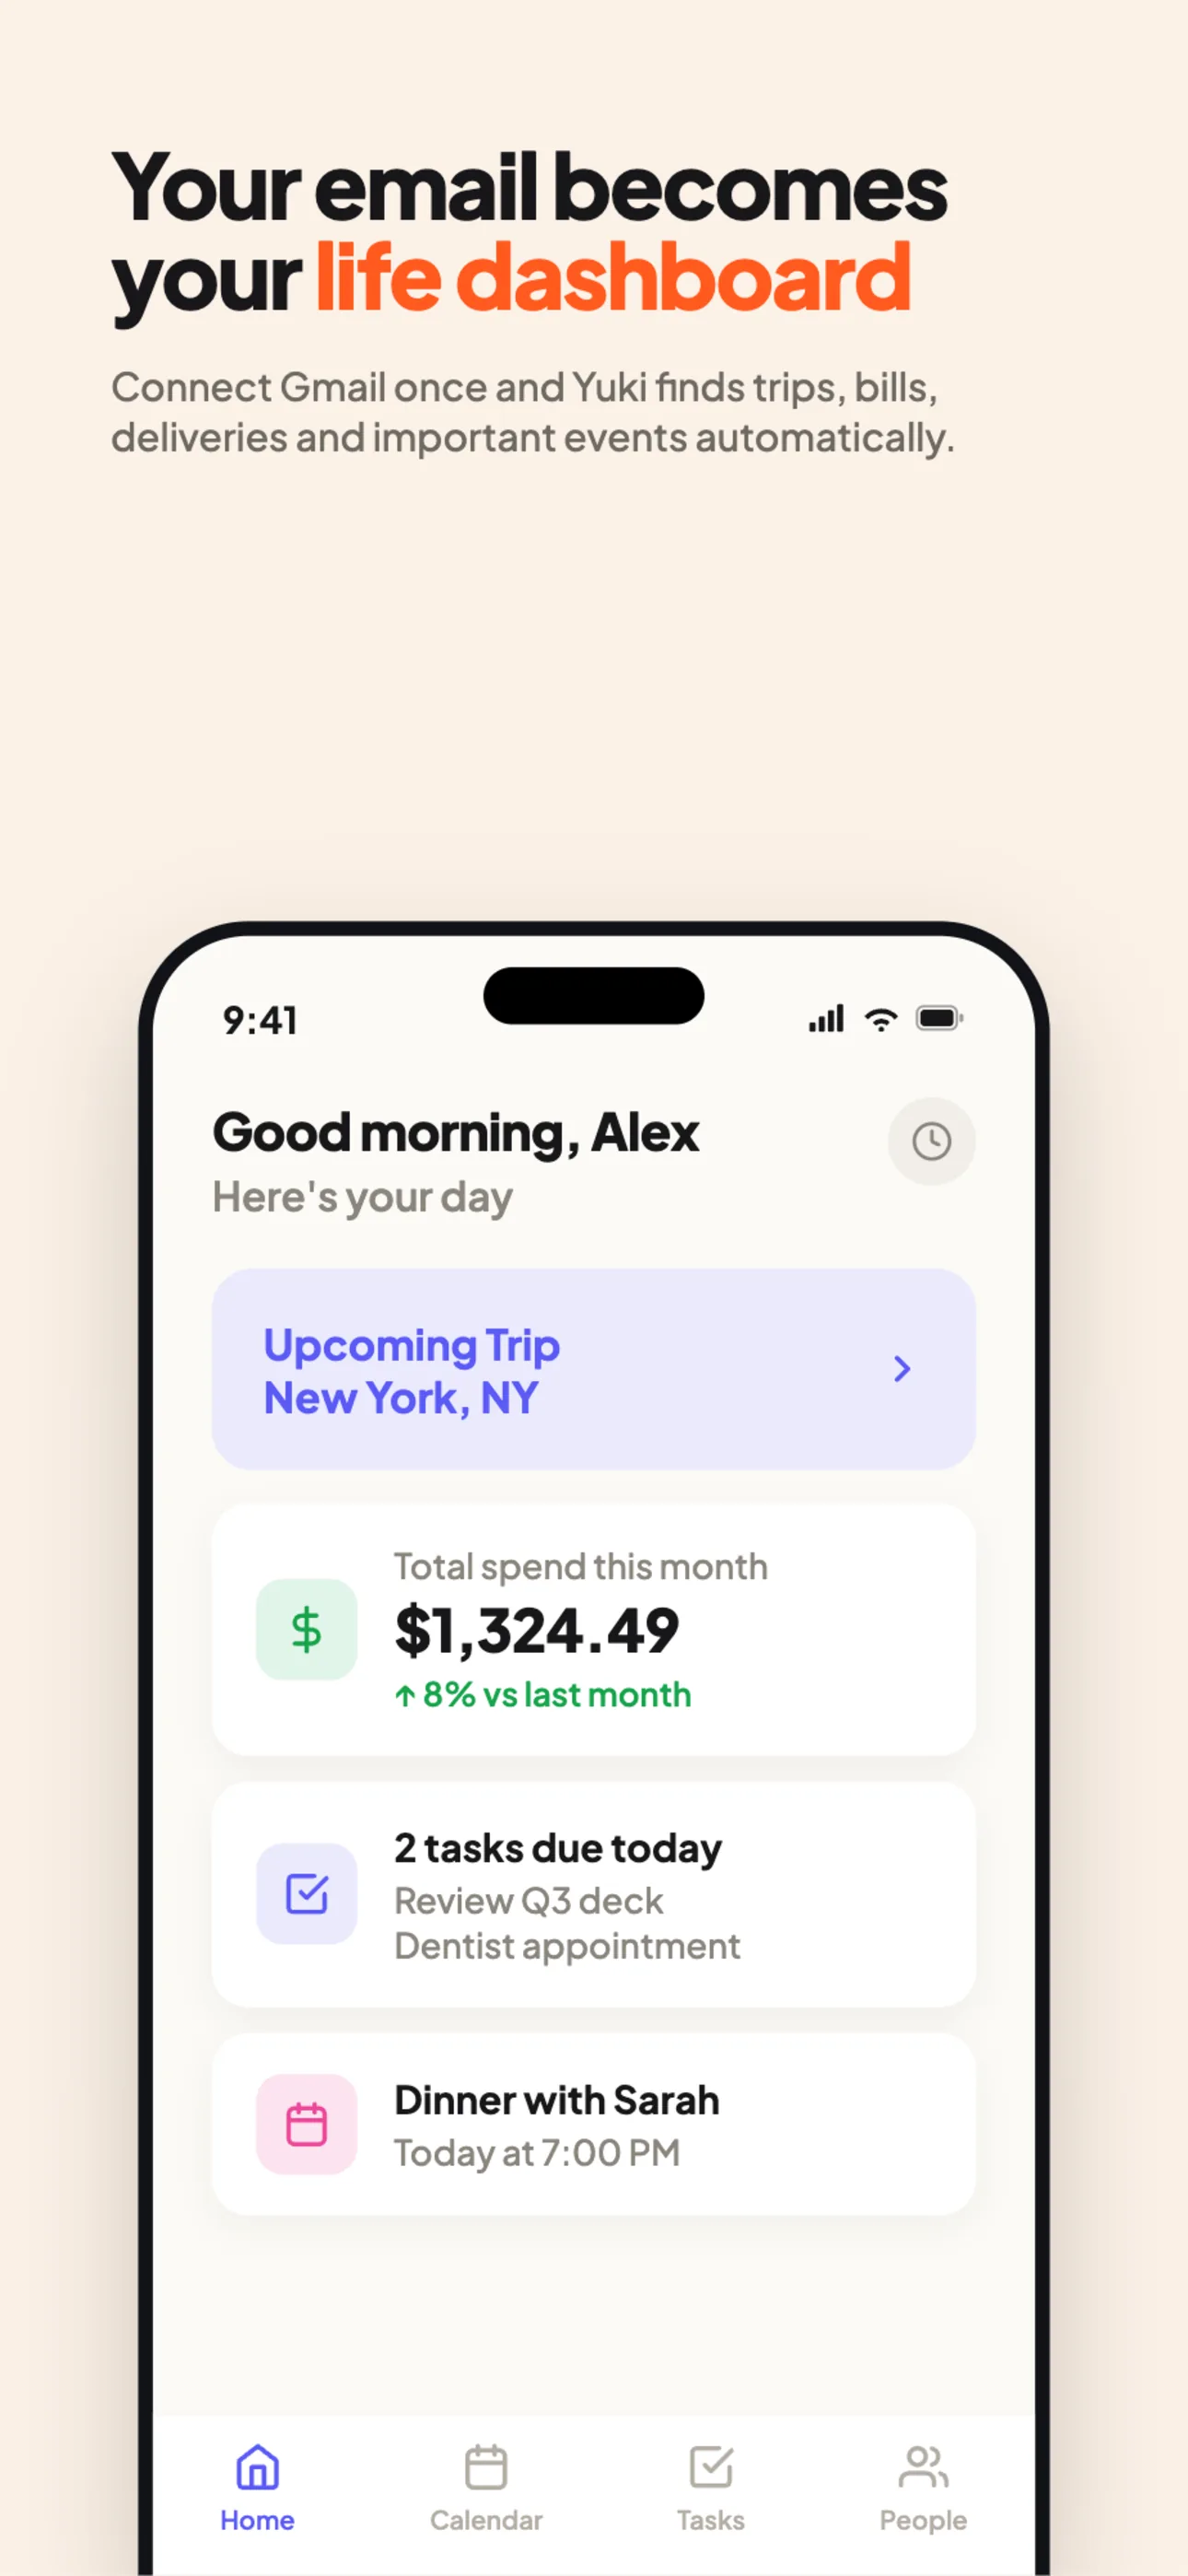
What connecting Gmail actually does
Once linked, Yuki continuously reads the transactional email you already receive — order confirmations, travel bookings, bills, subscription renewals, calendar invites, and shipping notifications — and extracts the useful details from them. A flight confirmation becomes a trip itinerary with times and terminals. A receipt becomes a tracked expense. A 'your subscription renews' email becomes a line item you can actually see coming.
The point is to remove manual entry. You are not forwarding emails, tagging them, or copying dates into a calendar. Yuki does the parsing so the information lands where it is useful, and you spend your attention on decisions instead of data entry.
- A live calendar that writes two-way to Google Calendar
- Trip itineraries assembled from booking emails
- Tracked expenses and subscription renewals
- Delivery and package tracking
- Reminders, birthdays, and a day-organizer of tasks
What Yuki can and can't see
The Gmail connection uses read access so Yuki can identify and parse relevant confirmations. It does not send email from your account, and it is not a bank connection — Yuki reads receipts that arrive in your inbox rather than logging into your bank, so you stay in control of what it sees.
If you have multiple Google accounts (say, a personal inbox and a work one), connect the one where your real-life confirmations land. For most people that is the personal account tied to shopping, travel, and bills. You can revoke Yuki's access at any time from your Google Account's security settings under connected apps.
After Gmail: connect your calendar
Gmail gets information into Yuki; connecting Google Calendar lets Yuki put it back where you already look. With calendar linked, the events Yuki builds from your email — appointments, trips, renewals — write two-way to Google Calendar, so they show up alongside everything else on your phone and laptop.
On iOS, Yuki can also write to Apple Calendar. This is the step that closes the loop: your inbox feeds Yuki, and Yuki feeds the calendar you actually check, so nothing lives in a silo you have to remember to open.
Sharing what Yuki organizes
Coordination is where connected email pays off most. Once your bookings and bills are structured data instead of buried messages, you can share them with the people they involve — a partner, family, co-parent, or roommates — through Yuki's shared groups.
That means a trip itinerary both partners can see, a bill both roommates can split and settle up on, or a family calendar everyone stays in sync with — built from the confirmations that were already sitting in one person's inbox.
Step by step
- 1Download Yuki free from the App Store (iOS) or Google Play (Android) and open it — there is no web app, so setup happens on your phone.
- 2Create your account or sign in. You can use Google (fastest, since it starts the Gmail link in the same flow), Apple, or email and password.
- 3When Yuki prompts to connect your inbox, tap Connect Gmail. This opens Google's official sign-in screen inside the app.
- 4Choose the Google account whose inbox you want Yuki to organize — pick the address where your receipts, bookings, and bills actually arrive.
- 5Review the permissions Google shows you and tap Allow. This grants read access so Yuki can scan for confirmations; nothing is sent or deleted on your behalf.
- 6Wait for the first sync. Yuki scans recent messages and begins populating your calendar, expenses, trips, and deliveries — the initial pass can take a few minutes.
- 7Open the Home and Day Organizer tabs to confirm items are appearing, then optionally connect Google Calendar so Yuki can write events back two-way.